Wednesday 30 April 2014

April's Polish Haul


Hi everyone!

I bought a lot of polishes this month, so I thought it would be fun to show you the ones I added to my collection this April!
First off: I totally forgot some polishes. I'm not sure anymore which ones, but I am sure that I bought more polishes this month than I'm showing you now. Bad memory!

And secondly: sorry for the wonky pictures! I guess I was in a mood to make the ground look crooked or something, woops!


I'll start with the two polishes I'm most proud of to now have in my collection: OPI's My Vampire Is Buff and Amazon... Amazoff. I was a big fan of Amazon... Amazoff when I saw swatches of it, but I decided to wait a bit and not buy it immediately. There was a sort of promotion sale at my local distributor of OPI polishes last week so you could buy two polishes and get 50% off on one of them - that's when I saw my chance to buy it!

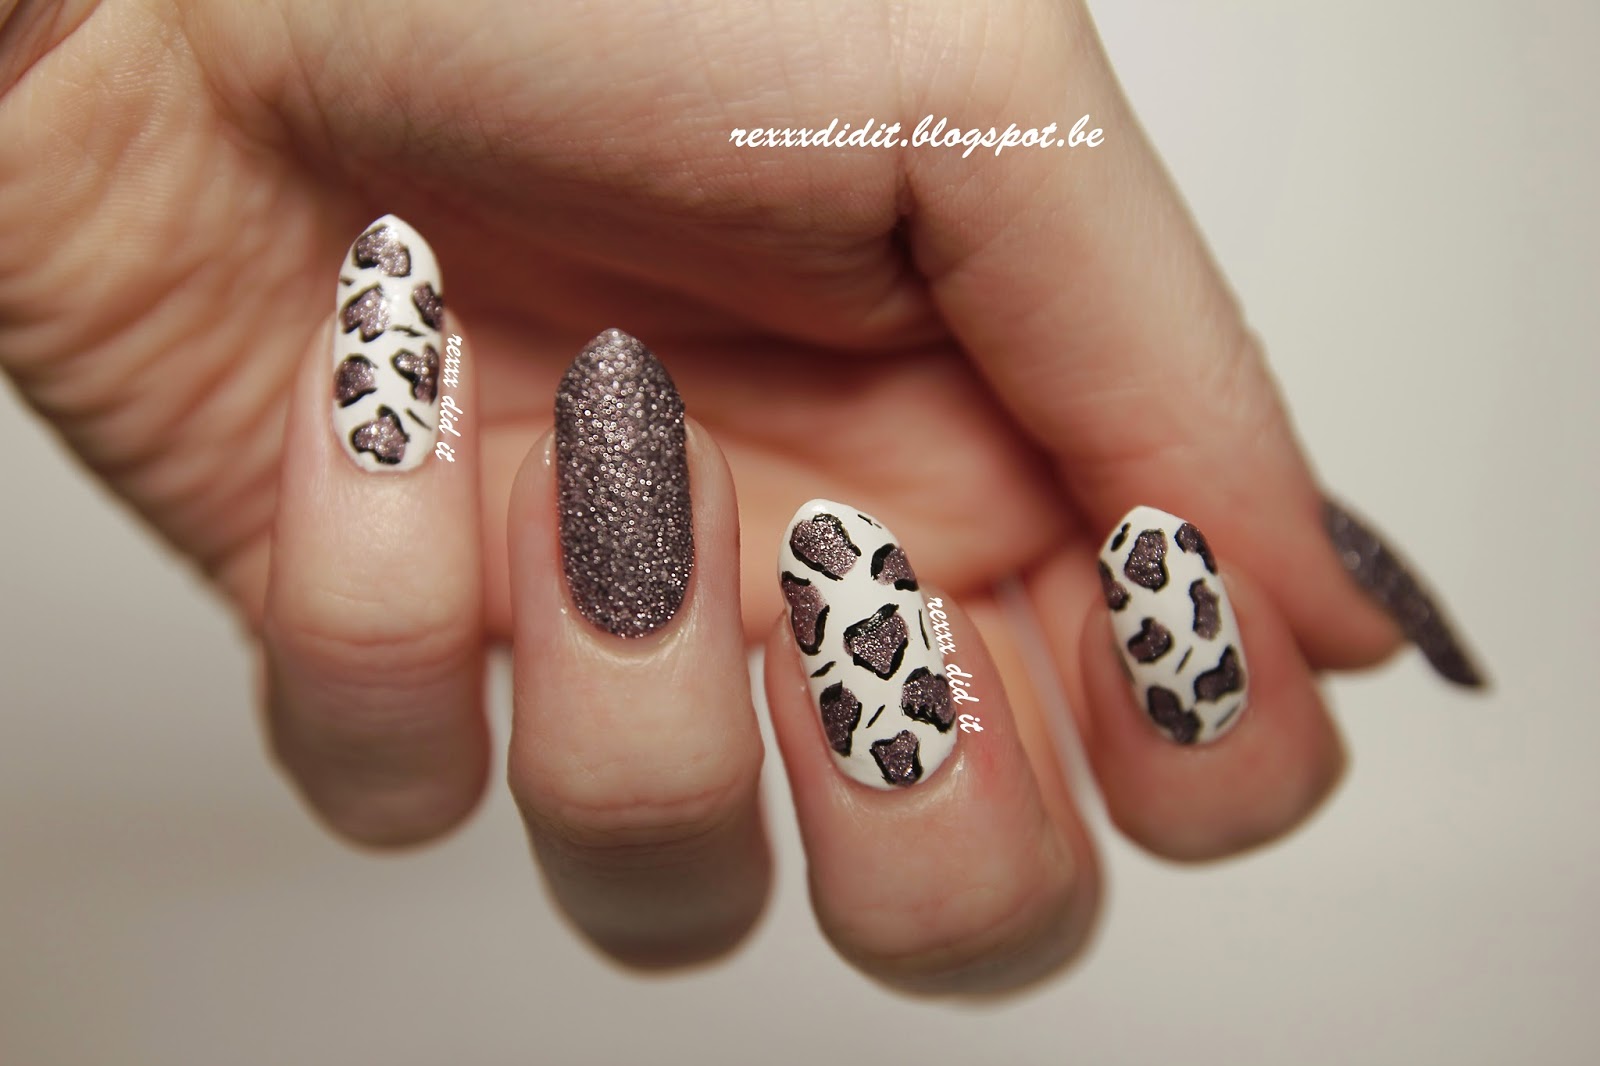
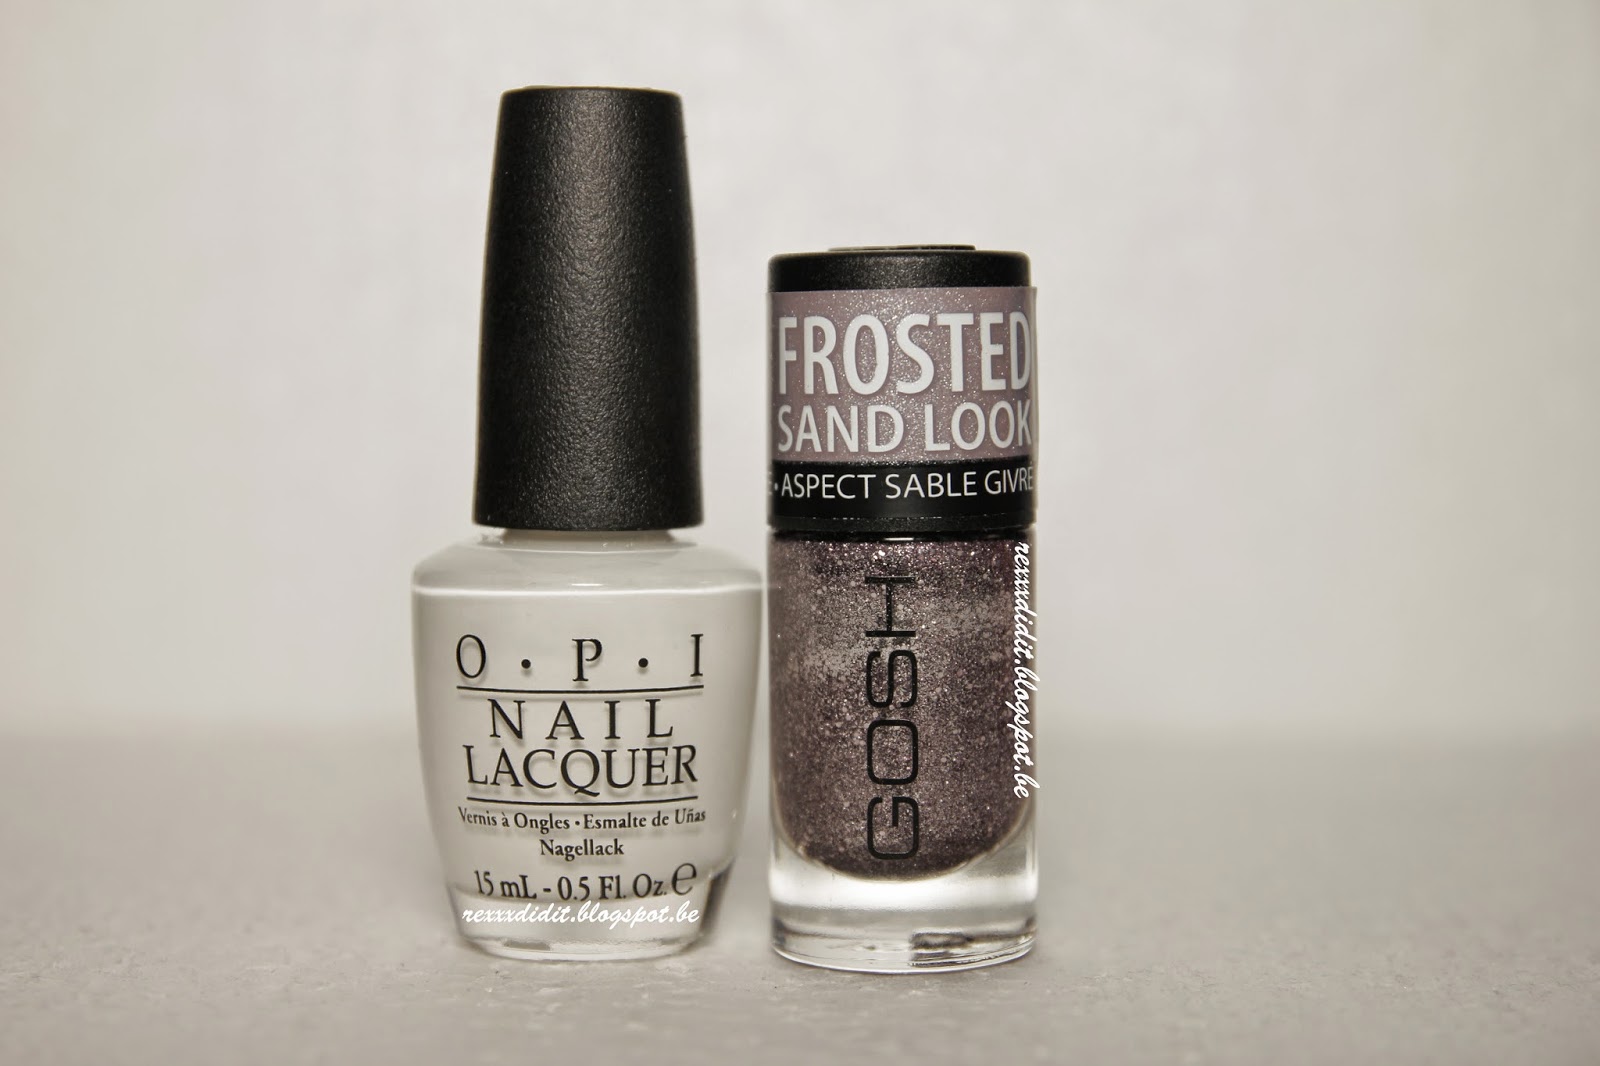
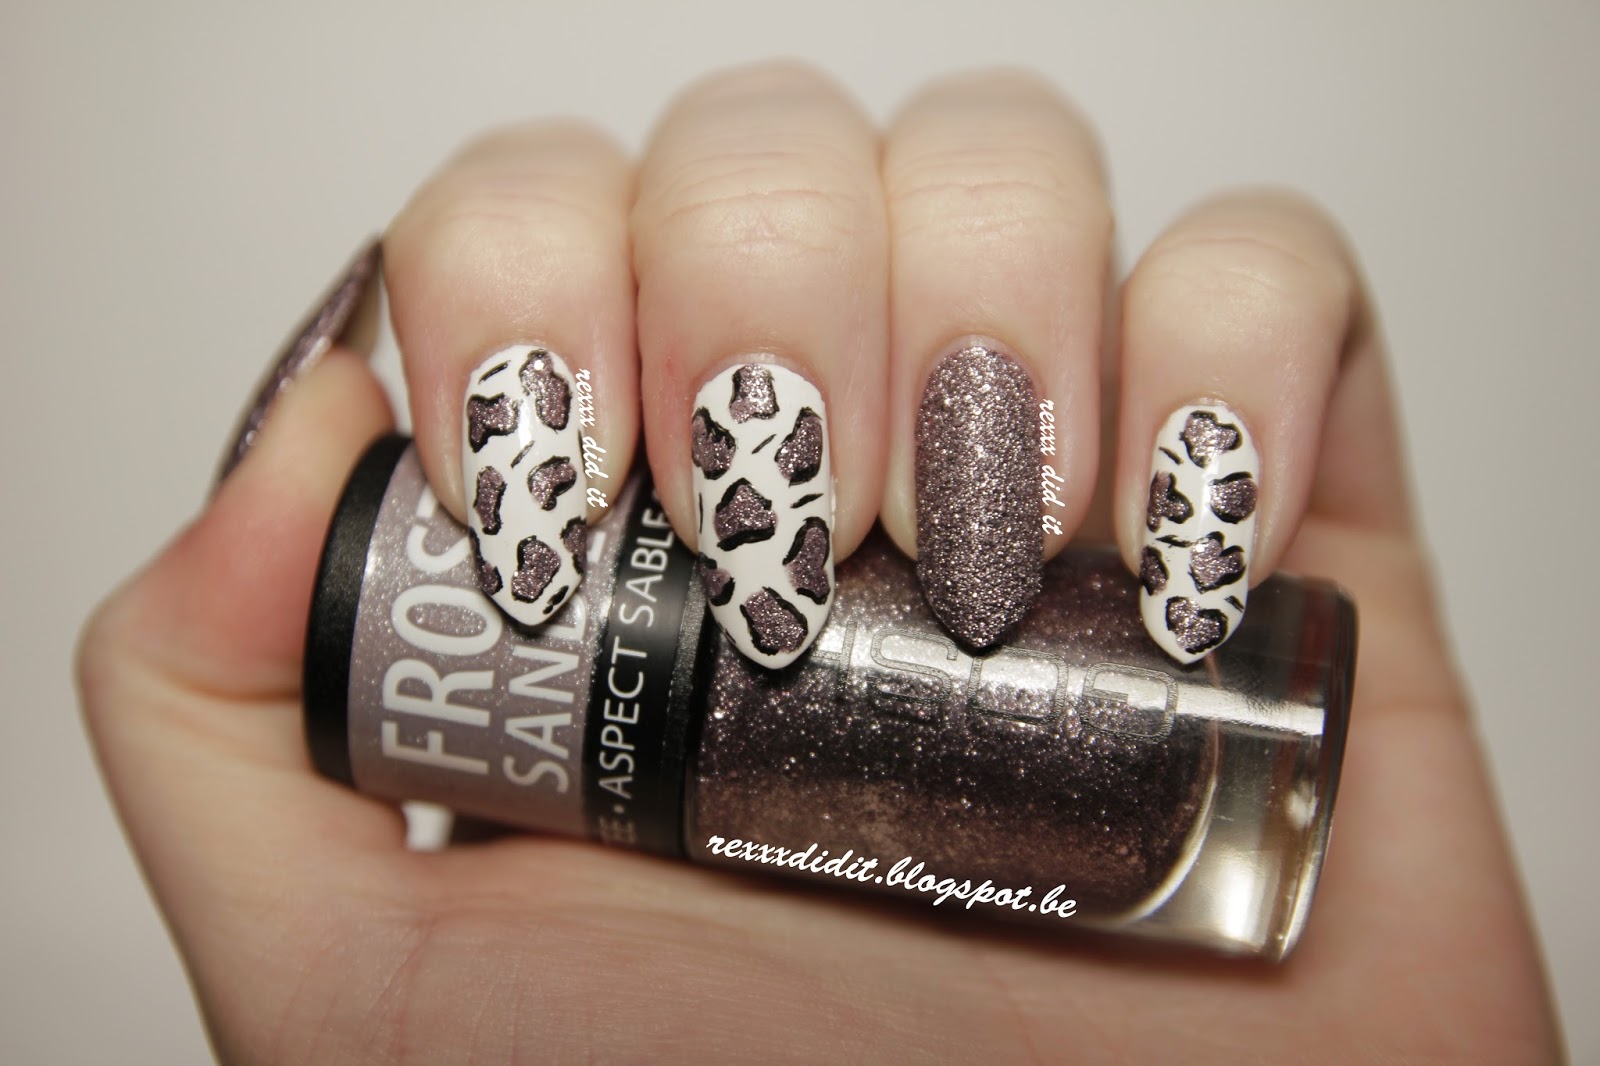
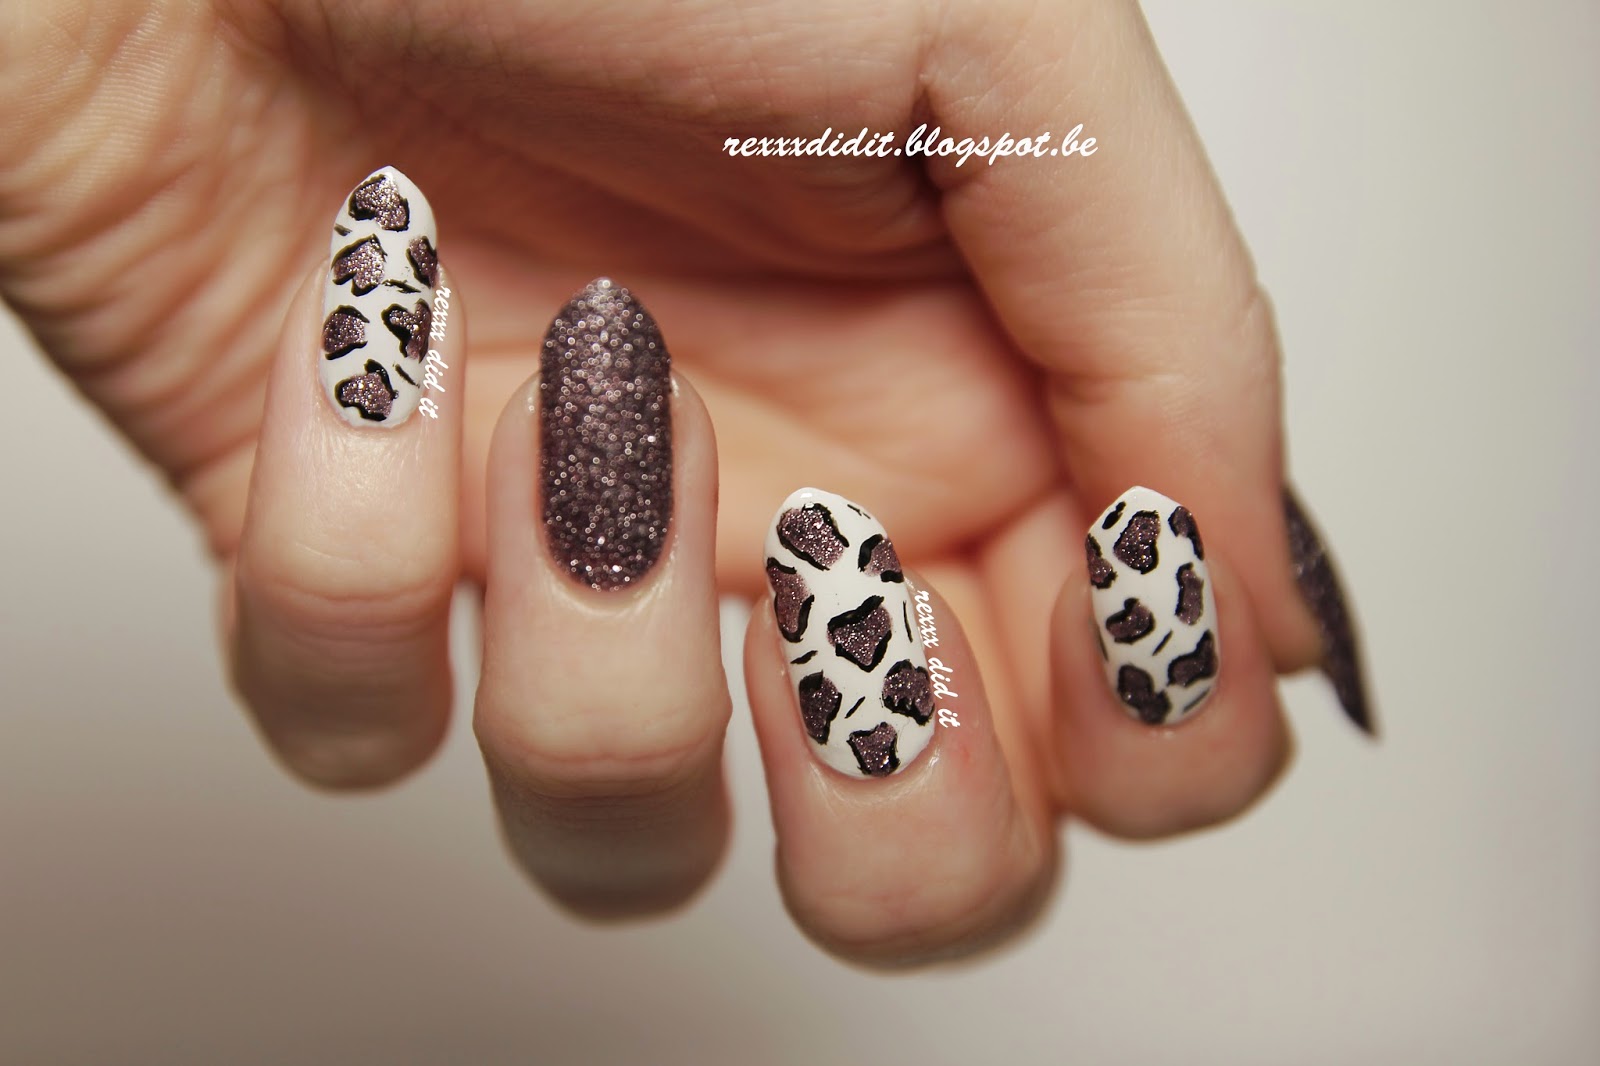
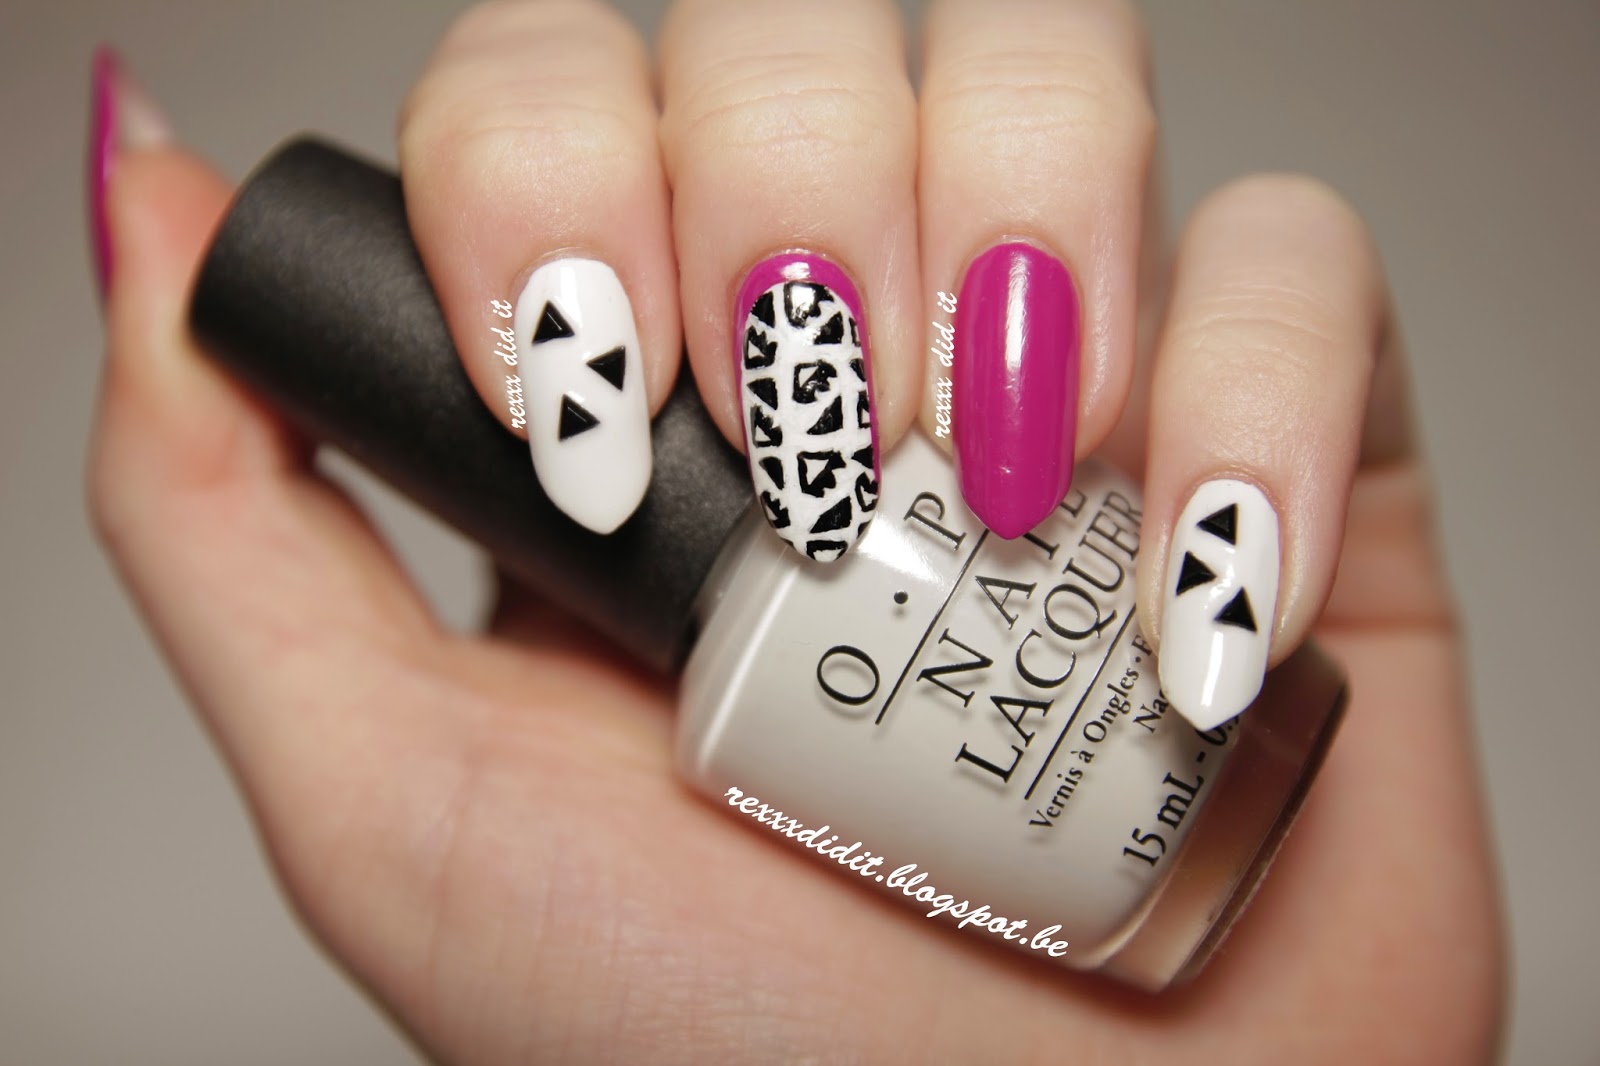
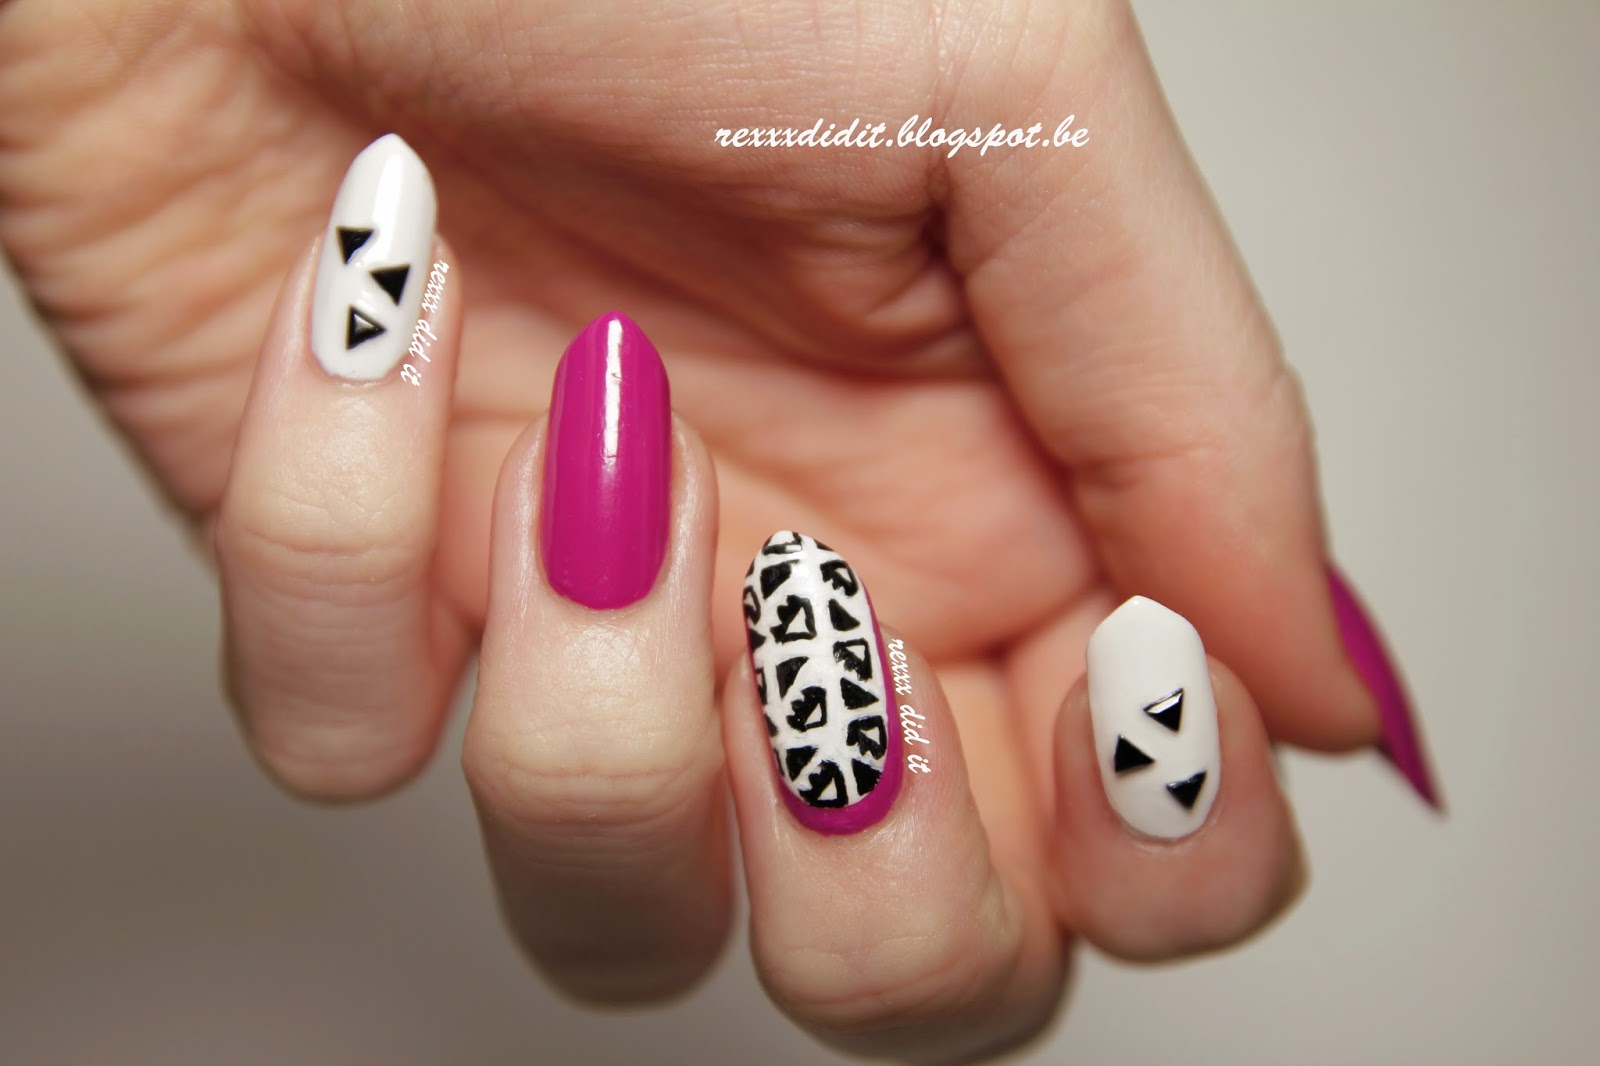
Now, My Vampire Is Buff, that's another story entirely. I have been searching and searching for this polish for like forever. Or well, more accurately, for about six months. I had read soooo many good things about it and I desperately needed a good off-white in my polish collection. I looked everywhere for it but just couldn't find it anywhere, and eventually I decided that it probably just wasn't sold in my country.


And then, when I least expected it - BAM! There it was! I was browsing the store for some more polish when I saw a nice off-white OPI. I picked it up and looked at the name - yeah yeah yeah, MVIB! I smiled at the bottle for about two minutes, thinking to myself it couldn't be real and I was probably dreaming, but then I skipped over to the counter and with a biiiiig smile on my face bought it.

Have any of you had that amazing feeling of utter happiness when you find a polish you've been searching for for like forever? I told some friends about this, and they were all like "Oh that's great that you found it, what does the polish look like?", expecting it to be a super special colour or something glittery, right - bummer when I have to explain it's a very normal off-white haha :)


 The third (and fourth, and fifth and so on) polish I bought this month is by Guylond. I had already bought an ombre pack a few months ago, so when I saw this pack I picked it up as well.
I think I made a mistake though - I assumed they meant "glow in the dark" with those "UV colors", but now that I think about it it's probably some effect you can only see with a special UV light - which I do not own. I haven't tried them on yet so I'm still hoping it's regular glow in the dark ;)


These two polishes are by Essence: I bought a special effect topper (on the left) and a glow in the dark top coat.

I have tried the glow in the dark top coat, but it changes the colour of your polish underneath! I used it over black, and the black polish turned a bit milky grey - like, what are you thinking Essence, that I want a top coat to change the pretty colour I'm wearing underneath? No, I just want a special glow in the dark effect when it's dark, I don't want any milky effect. Maybe I need to try it on top of a different colour and see how it goes. 

I also already tried the Jewel Effect topper - that one is so pretty! It has little glitters in it that change colour according to how the light hits them - they turn soft pink, soft blue or see-through, very pretty!


Then: Essie's Trophy Wife! I'm not a big fan of the name, but the colour looks great. I also haven't tried this one on myself but I've seen swatches :) I think this one is great for some mermaid nail art I'm planning on trying soon.


And then the last one: Golden Tears by Park Avenue. A lovely polish with tiny golden flecks in it and some bigger hexagon shaped glitter that has a rainbow effect when light hits it right. Pretty!

That's my haul this month! I'm quite glad with these polishes, and I can't wait to try some of them out!

Thanks for reading! :)

Saturday 26 April 2014

Tribal nails and purple ombre


 Hi everyone!

Today I have some tribal nail art for you on top of a (unfortunately very subtle) purple ombre.
The ombre is a bit more noticable in real life and in some of my pictures, like here:


Can you spot it?

For these nails I worked with acrylic paint - I used white paint to draw the tribal designs.
I made the ombre with polish: I used two Guylond polishes which are nameless, but came in an "ombre" pack with other purple and pink colours.


I used a sponge to make the ombre and I'm suuuper proud of how it turned out - there are no lines where the colours don't overlap properly, but it's super smooth and the colours just blend so nicely. Unfortunately I couldn't take pictures of it before I added the tribal design, so you'll just have to believe me on this. And: if I can make a good ombre once, I can make it again right?! Next time I'll try to take pictures of it first before covering it up with something.


I made the design myself - well, I googled pictures of tribal patterns and saw that some shapes occured very often so I used those shapes to make my own pattern. I quite proud of how it turned out - and it was also super easy to paint with the acrylic paint. I'm most proud of the design on my pointer finger and ring finger, I really like the three triangles I made :)

And you also get an awkward picture where my thumb is included:


My lines aren't always super straight (check out my middle finger!) so there's a lot of room for improvement, but I do like this already!

Can you spot the ombre? And which pattern do you like best?

Thanks for reading! :)

Tuesday 22 April 2014

Monochrome & Textured Leopard Print


Hi everyone!

I'm really into black and white nail art lately so today's post is also about a black and white design!
I had actually planned do to something with acrylic paints but that was a total fail, so I quickly did some leopard print because that is my go-to design when all else fails and it's super late at night.


For this quick design I used: 
Alpine Snow - OPI
Frosted Purple - Gosh
Black acrylic paint


Although the name of the Frosted Sand polish is Frosted Purple, it doesn't really look purple at all. You can sometimes notice a purpleness in the polish, but it's not very obvious and if the name of the polish didn't have the word "purple" in it, I wouldn't have noticed this purpleness at all I think.


 You know how leopard print goes: three coats of Alpine Snow, make the spots with a dotting tool and then do the black outlines with a small brush.

I did the black outlines with acrylic paint because I wanted to try that out a bit - I just bought a set of 12 colours, just a cheap set so they're not very good paints but I just wanted to try acrylic paint out.

It is true that it's so much easier to work with than with polish! Now, my black polish I normally use for leopard print is a bit old, I'm halfway through the bottle so it's a bit gloopy, which I notice a lot when using it. I had no problems when using acrylic paint, it went a lot smoother than with my black polish.


I also put on a shiny topcoat afterwards because I wanted to see how the Froster Sand polish would look then. There's not a very noticeably difference, the grey looks a bit darker and glossier but that's about it:


What is your go-to design when all else fails? :)

Thanks for reading!

Thursday 17 April 2014

Monochrome Geometric with a Splash of Purple


Hi everyone!

Today I have a this geometric design for you, along with a little secret about me!

I'm going to start by telling you my secret: I love socks. Yes, socks. Socks are amazing. But not just any socks - I love socks with weird or eye-catching patterns, with funny animals of fruit on them. I own a lot of socks, all of which are wonderful and a bit weird - I have socks with owls, with hedgehogs, with pugs listening to a walkman, and so on.

Hehe, okay, I'm not sure if loving weird socks is a bit crazy or if there are a lot of people that like funny socks - do you like them?

Now, why did I tell you that, you might think. And maybe you might have guessed it already: today's design was inspired by my new socks! I bought a bunch of socks a few days ago and one of them has this lovely geometric pattern on it - it's absolutely gorgeous!


Fun fun! When I saw it, I not only definitely wanted to buy these socks, but I also immediately knew I wanted to make this design into nail art.

The colours I used here are: 
Black on Black - Sinful Colors
Alpine Snow - OPI
Ate Berries in the Canaries - OPI


At first I thought to do the geometric pattern on all of my nails, but I quickly decided that sometimes, less is more! Plus less work, haha.

I started out by painting my pointer finger and little finger with three coats of Alpine Snow.

I also painted on two coats of Ate Berries in the Canaries on the rest of my nails. When that had dried, I painted two coats of Alpine Snow on my middle finger, but not starting at my cuticles of course, because I wanted to leave a spot of purple visible.


Then I added some triangle studs to my pointer and ring finger and voila!

I then started to do the geometric pattern: now I haven't copied the pattern exactly the way it is - on the socks, the black lines and triangles sort of meet, but I kept it a bit simpler. I just painted on the triangles, added some "teeth" to some of them, and coloured the other ones in with black.

The geometric design isn't as neat as I wanted it to be - I mean, some of the lines aren't very straight and the triangles aren't all the same size - but for my first attempt at this design, I'm very satisfied!

Plus I got compliments about these nails in real life - I mean, like someone from my class noticed my nails. I always think it's so fun when people in real life notice my nails - it's only normal that everyone here notices them because I put up extra large pictures of them on my blog :D And although in real life I'm often positioning my hands a certain way so people can see my nails (do you guys do that too?) it's always lovely when people notice them :)

And to finish, I have some more lovely pictures for you:


Are you a fan of funky socks? And do you like this design? I'm very proud of myself for keeping it so simple - sometimes I overdo a design and it becomes a bit too much, but this time I really kept it clean!

Thanks for reading! :)

Monday 14 April 2014

Water Spotted Berry Potter


Hi everyone!

I am super pleased with how today's manicure turned out! I used the water spotting technique to create this design, and this is the first time water spotting actually worked with me! (yeey go me)
A few weeks ago I saw a gorgeous water spotted manicure by The Adorned Claw (here's her blogpost) and she said in her post that she used perfume for this technique. Now, I've tried a bunch of things for water spotting, but perfume wasn't one of them yet!

I had already tried to do it with lots and lots of hair sprays, but that failed miserably every time because the spray that came out of it was too much and just made one big hole in the polish instead of several small ones like it's supposed to.


I loved the manicure Ruth did, so I got inspired to try water spotting once more :) And it worked! I'm so glad she said she used perfume for it, because perfume is so perfect for this technique but I hadn't thought of using it myself.

The polishes I used here are:
Alpine Snow - OPI
Berry Potter and Plumbledore - Catrice

Yes, you read that right: Berry Potter and Plumbledore! This must be the awesomest name for a polish I have come accross ever! When I saw this polish in the store, I immediately grabbed it - I didn't even care about the colour or whatever, I just HAD to have that polish because of the name because I am a biiiiiiiig Harry Potter fan. Do you ever get that, that you really want to buy a polish because of its name?

Berry Potter is a purple polish with some blue-ish shimmer to it - you can see it a tiny bit in some of my pictures, but it's not super apparent here because of the water spotting.


So, I started out by painting two coats of Alpine Snow on my nails and then waited until it had fully dried. I put some scotch tape around me nails to avoid too much of a mess and too much clean-up. I then grabbed a small plastic cup, filled it with water (room temperature) and put in some drops of Berry Potter. 

Then I sprayed on the surface of the polish with some old perfume I never use anymore, and dipped my finger in where I liked the spots it had created. I waited until the polish on the surface had dried, cleaned that up with a toothpick, and pulled my finger out of the water - it's the same you do for water marbling, really.

The only downside to using perfume is that I had to air out my bathroom for two days and my nails smelled like perfume A LOT, but I guess there are worse things in life than having perfume scented nails for a few days :)


I re-did this design one time, because I didn't really like the spots that my first try had created - but since they are so easy and quick to make, it's not too much of a fuss to re-do it luckily!


Do you like these? I absolutely adore them, I'm so glad the technique worked!

And please, if you know any more polishes with amazing and funny names, let me know in the comments! I am really curious! I suppose a lot of indie polishes have amazingly creative nails, especially when a collection is based on some television show or something else from popular culture.

Thanks for reading!

Friday 11 April 2014

BornPretty Store discount code and Nailpolis account

Hi everyone!

Quick post with lots of talking today, because I have some news for you!

Now, I think you all know BornPretty Store already, right? But just in case:
They are an online store for just about everything beauty related: they sell nail art items, nail polish, make-up, jewelry, hair decorations, clothing, and so on.

I've bought some great things from them in the past (holographic polishstudsdazzling multicoloured polishglow in the dark polish...) and I've always been very happy with them and never had any trouble.

The reason I'm telling you about them, is because BornPretty Store has contacted me to do some reviews of nail art items they sell on their website - and I said yes of course, they have great items (for very small prices). I'm very much looking forward to it!
So in a few weeks I will have some reviews for you! These will be the first "real" (sponsored) reviews I ever do, so I hope everything goes according to plan and the designs I'm going to do work out :)

BornPretty Store also gave me a coupon code to use to get 10% off when I purchase something - but it gets better! Not only I can use this code, but you as well (hurrah)! Here's the code (and I've also put it up in my sidebar so you can find it more easily): XDX31


And some more news about that: BornPretty Store has offered to sponsor a giveaway when 10 people have used this discount code - so if you want to purchase something, don't hesitate to use it! :)

And then some other news: I've recently joined Nailpolis - I don't know if you've heard about them yet, but they profile themselves as an online museum for nail art. They invited me about two months ago and I was a bit sceptical at first to be honest - just because: "who are they? where do they come from? why do they want to create this online museum for nail art?" and so on, but I have completely turned around now.

It's just a great platform to get to know even more nail artists - I have already seen some incredible designs and met amazing artists I otherwise wouldn't have known, so I'm very glad I took the chance and joined!

Nailpolis works like any other social media: you can create your own profile and upload nail art and swatches, look at other people's nail art and participate in contests (and win awesome polishes)!
Let me know if you're on there too, because I'd love to follow more people. You can also always find me here: http://www.nailpolis.com/artists/Robin


If you're not on Nailpolis already, you can also always request an invitation on their website, if you want :)

That's about it for today's announcements! Thanks for reading everyone! :)


Thursday 10 April 2014

Classic Leopard Print With a Twist


Hello all you fierce tigers! Or leopards, to be more in theme with today's post!

If you've followed me for a while on here, then you know I'm a sucker for leopard print. Funnily enough, I actually don't own any clothes with leopard print on them - maybe I'm overcompensating for that on my nails haha.

Today's design is the classic leopard print, but with a twist to it!


The colours I used for this design are:
Goldbusters - Catrice
Black on Black - Sinful Colors
Chocolate Chips - Only You
African Queen - Only You

I started out by painting my nails gold with Goldbusters (awesome name by the way - I always love it when a polish has a name that refers to popular culture). This golden polish is a bit more yellow than the previous one I had (Goldfinger by Catrice) and I like my old one better - I'm just not a big fan of yellow. But gold is gold I presume, so on with the design!


I then created the brown leopard spots by mixing my two brown polishes together (because the one is too light for the spots and the other one's colour is too dark) and using a dotting tool to make the uneven spots. Then I did the outline with black polish and a small brush.

I felt something was missing in this design (I think it felt a bit off because my gold polish was more yellow than the previous one and it just looked different to me) so I made black strokes.

Awkward thumb shot to show off that poor forgotten finger as well for once
I used some striping tape to get clean lines, and did an accent on my ring finger. I  first placed the studs on my nails (but without sticking it on) so I could place my striping tape just next to it, in order to get the right width of the black strokes. Does that explanation make sense? It's hard to explain it properly in English, but I hope it's clear.

I took the studs off again to paint the black strokes, took the striping tape off, and then I put the golden studs on again and sealed them in with a royal amount of top coat.

Now to be honest, I'm not 100% pleased with this design. I'm not sure why though. Maybe it's the yellow golden polish, or maybe the black strokes with studs don't really work here. I did get some compliments about my nails today, so other people seem to like it a lot, and it really did grow on my during the day. Maybe I'm just being too critical of myself :)


What do you think of this design? Raauwtch or aauwtch? (haha see that I made a leopard pun thing - I'm so funny)

Thanks for reading!

Monday 7 April 2014

Pastel Love


Hi lovelies!

Today I have a pastel design for you!
I bought some new polishes a few weeks ago and one of them was "C03 Evergreen 60s" by Catrice. 
This is a limited edition polish from the Crème Fresh collection.


I just love mint green so I couldn't resist this polish :) I would have bought more from the 60s inspired collection but this was the only colour left at the time - I might go back to see if the store has some of the other colours again.

The Evergreen polish wasn't the easiest to work with, however - it got thick very quickly, I had to be really careful to use thin coats because otherwise the polish would just drag and create lumps. 

The drying time was, unfortunately, quite bad: normally I can paint my second coat of polish on my left hand thumb when I have finished my first coat on both hands (starting with left hand thumb and ending with right hand pinky), but I really had to wait about 20-30 minutes here (I didn't time it, I'm sorry, so I'm not quite sure of the exact time). Maybe the coats I used were still too thick or something - very very thin coats are a must with this polish.

When I drew on the hearts for this design, that was really tricky - Evergreen would just thicken sooo quickly and lump together - you can see that a few hearts have some lumps here and there. The polish also has a streaky finish. Haha, so okay it's really not the easiest polish to work with, but I'm actually very glad with it because of the gorgeous pastel colour and the pearly like finish, but I have to get used to working with this polish.

The other colour I used for this design is Essie's Muchi, Muchi. 


I found inspiration for today's design in this Pond Manicure by Adventures in Acetone. I thought the idea of layering a sheer polish was so fun, so I tried it out myself, and I also made little hearts like Adventures in Acetone because they look so cute :)


I painted three coats of Evergreen on my thumb, index finger and little finger. The polish has such an amazing colour and finish - it's shiny, but also a bit pearly (if that makes sense, a pearly finish?). I used a top coat for extra shine.

On my middle finger and ring finger I started with one coat of Muchi, Muchi. Then I drew on 3 hearts on each nail with Evergreen. I did another coat of Muchi, Muchi on top of that, and again added a few hearts. Another coat of Muchi, Muchi, some more hearts, and then a final coat of the Essie polish to finish it. And top coat for extra shine of course.

As you can see, my nail line is still a bit visible on those two nails, but it doesn't really bother me in this design. And I love the pastel look of it all :)


That's it for today's design! Have you tried this layering technique yet? I think it looks super fun and it's really easy to do :)

Thanks for reading!

Thursday 3 April 2014

Love Doodles


Hi everyone!

Today's design was completely inspired by a new polish I bought: NYC Ink Stain.
When I bought it, a friend of mine said "Oh that's so cool, you could do like writing on your nails because the colour resembles ink!" And I thought that was a really good idea :)


I didn't want to do all writing on my nails - I wanted some doodles like I had distractedly drew random things on them. I decided on love doodles because I was in a childish/romantic mood :)

I first used three coats of OPI Alpine Snow, and then I painted on the hearts and words with a small brush.


I quite like how they turned out - it would have been better if I had thought more about the placing of the hearts instead of just jumping right in as I always do, but it's a lesson learned (or probably not actually in my case).


I hope you like my design and thanks for reading :)